A LONG time ago, back in mid-May, I posted a teaser photo of a project I was working on. Well friends, I am finally done.I’ve actually been done for a month or two, but as making these modern wooden blocks has been a study in procrastination, that is right on schedule.
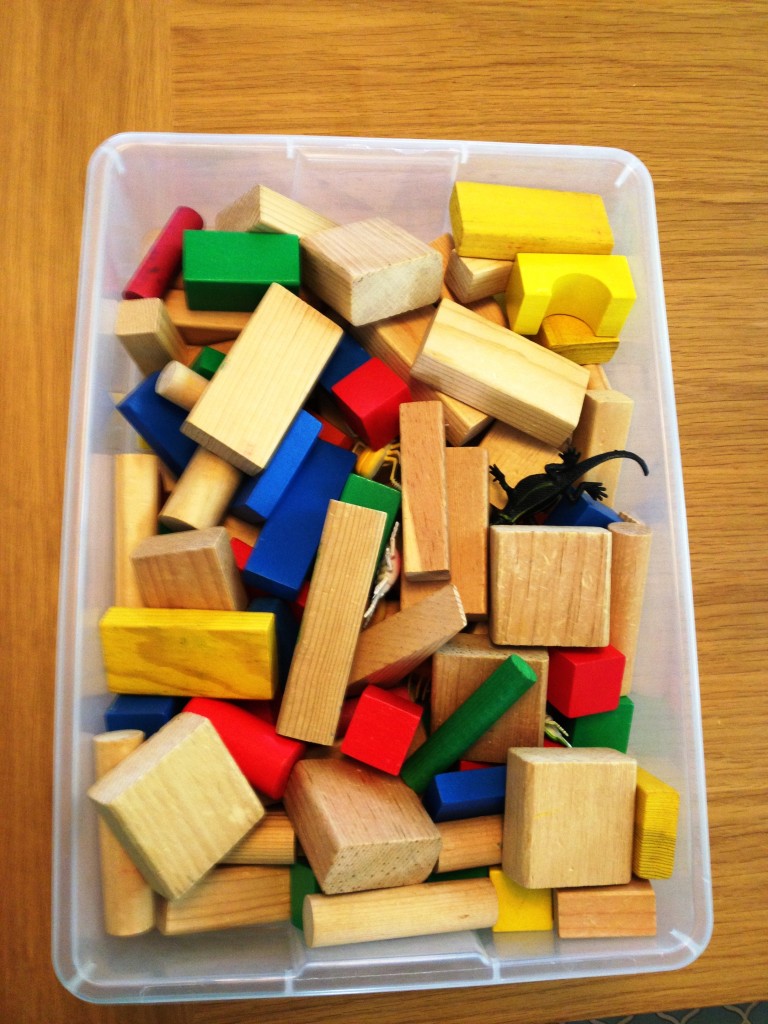
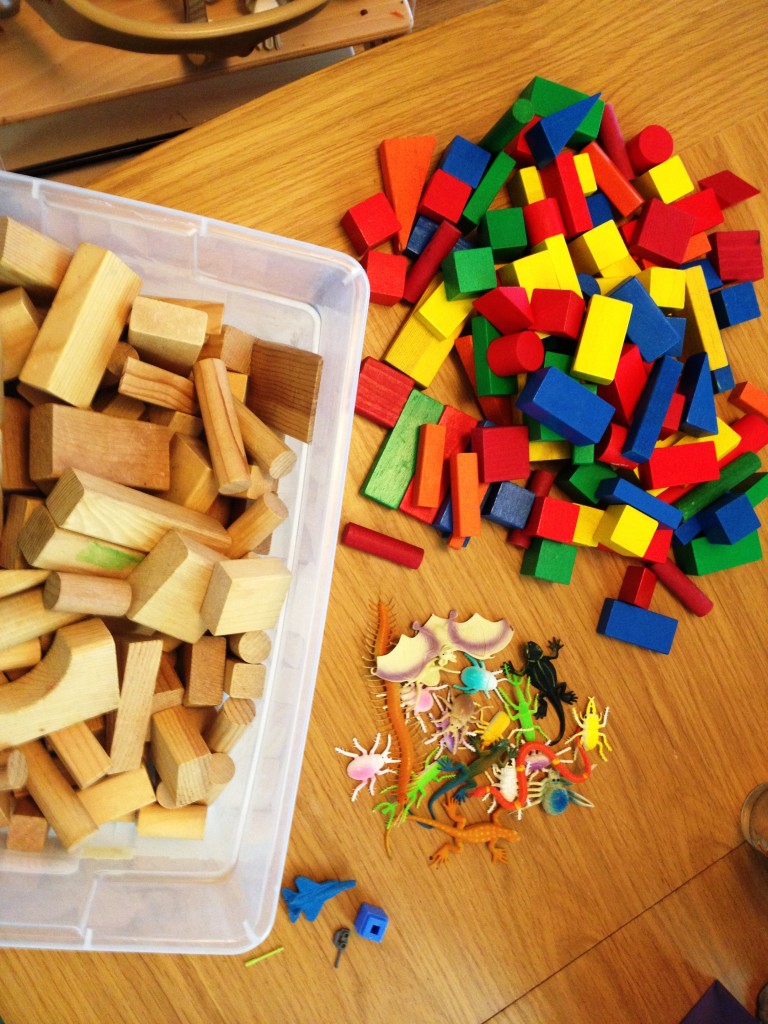
I bought this tub of blocks at a garage sale for $4.50 when Bee was a couple months old. I put it away on a shelf in her closet for when she was older. A year later I took it down and opened it up to really see what I’d bought.
The contents were a set of smaller multicolored wooden blocks, a set of larger plain wooden blocks, a set of creepy crawly plastic toys, and a few random toys. I liked the multicolored blocks as is, but the plain set seemed ripe for opportunity. Both sets were big enough that separating them made sense — having two sets made them a more manageable size for toddler play and more importantly, clean up.
The creepy crawlies went back into the closet — eww.
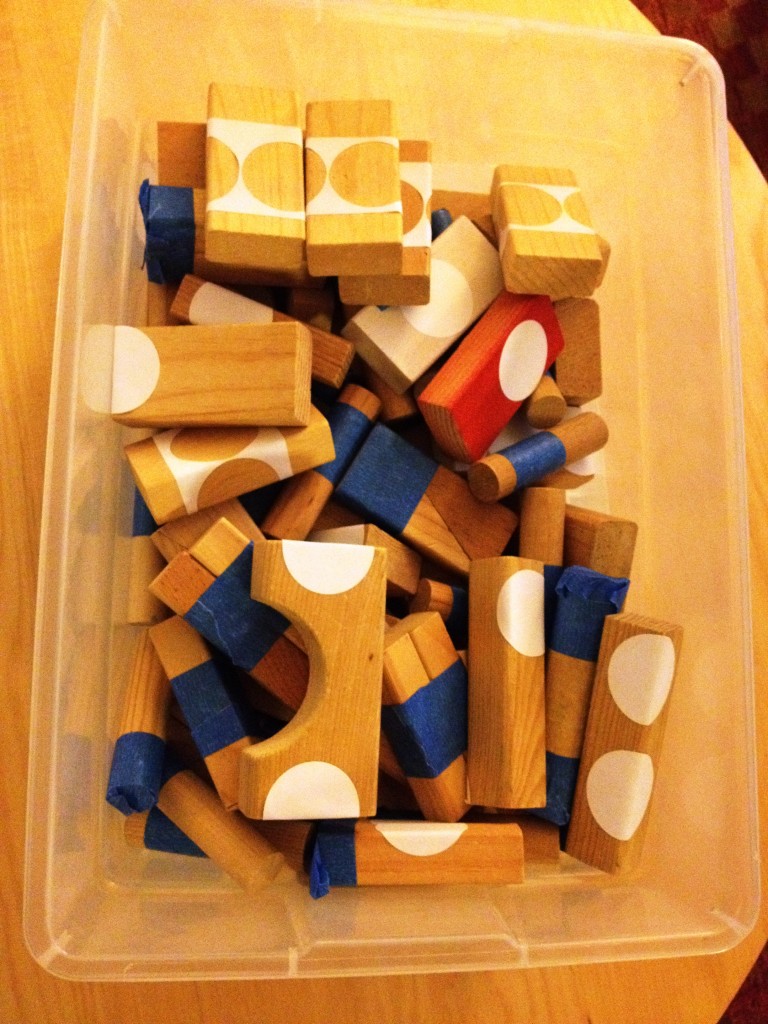
I decided to spray paint the plain blocks (you can see my test blocks in the photo to make sure it worked), but I wanted to do something more interesting that just paint them a solid color. I played around with painter’s tape and round labels and came up with a few options.
I got bored wrapping each piece individually, so I sometimes looped painter’s tape around a couple of pieces. The tape was fussier to apply that the labels, but spoiler: the tape was a lot easier to remove after I was done that the stickers, which stuck horribly on some.
I went to the hardware store and bought spray paint: Rustoleum Painter’s Touch Ultra Cover x2 in marigold, paprika, aqua, and silver. And then I began spraying. And spraying. And spraying. Getting multiple coats on each tiny side reminded me why I don’t particularly love DIY. I began not to care about the project anymore. I wanted to be done, but every time I checked I saw new areas that needed another coat. The project sat, nearly finished on my porch during the hot summer months, mocking me.
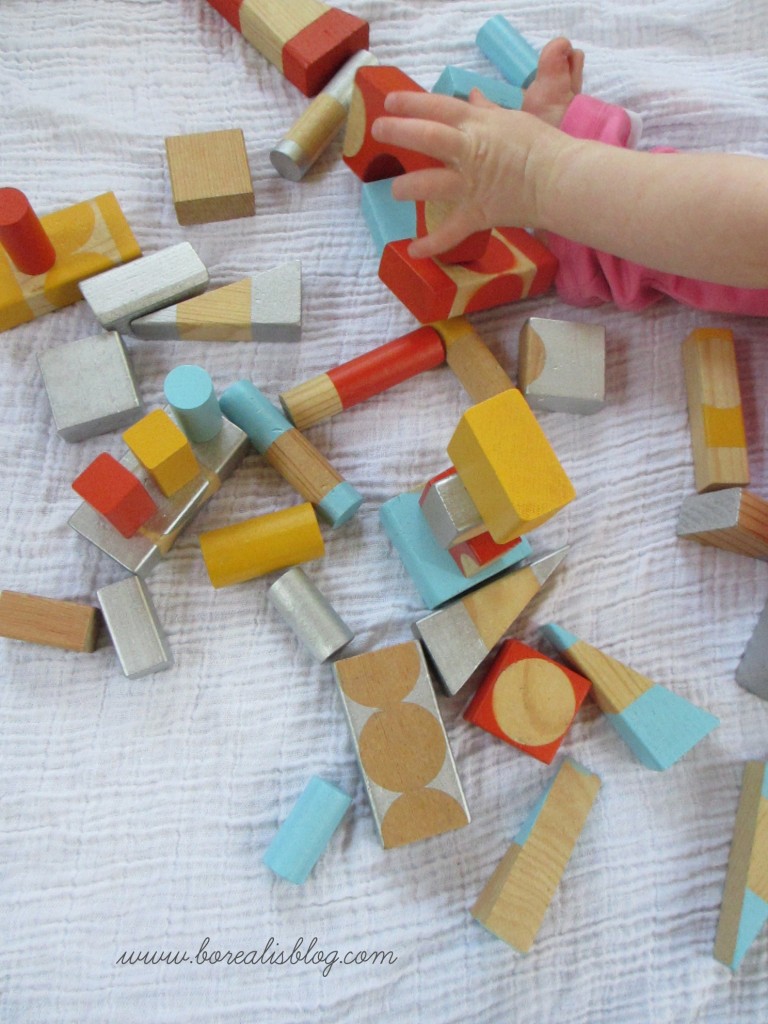
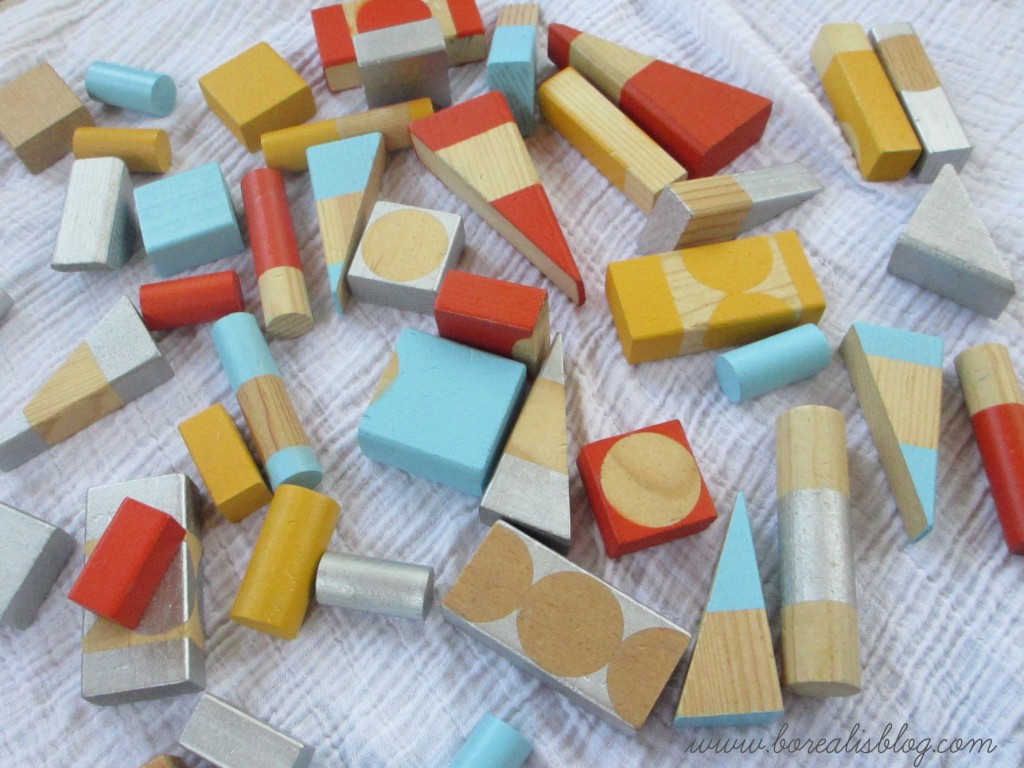
Finally the exhaustion and ennui of the first trimester of pregnancy started lifting and I dared to go out an inspect my work. I was so close! Another couple of coats (applied while wearing an air filter mask) and I was done. I let Bee loose and she started playing with them as I unwrapped the tape and removed the stickers to see how they turned out.
There were a few duds where I hadn’t applied the tape/labels well enough. I threw those away.
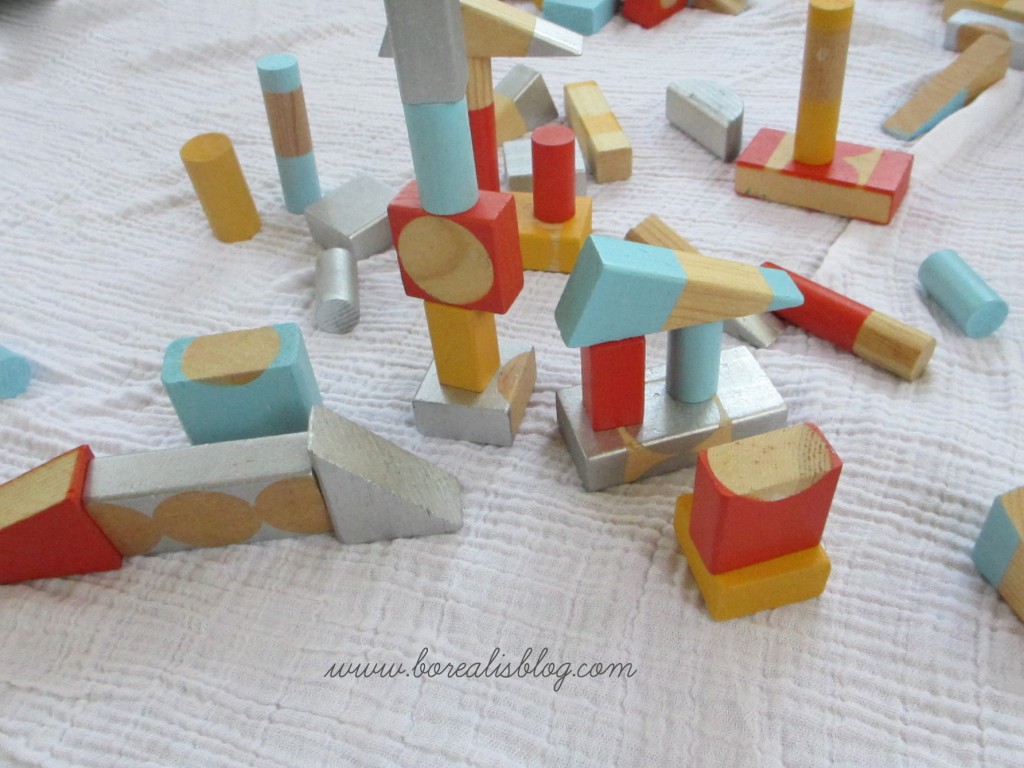
The rest were fine, and to my delight, both she, my husband, and I love playing with them. I try to find a new way to play with them every time. I cheer on Bee when she makes an especially high tower, and she cheers me on (“Yay Mama!”) when I do the same.
My favorite are the blocks I wrapped in pairs. Every once in a while I find a matching set — it’s a fun game-with-in-a-game.
And of course now that I’m done, I’m very happy I embarked on this little project. The joy their bright colors will bring in the coming years far outweigh my pregnancy-induced frustration mid-project.


It is not lost on me that the labels wouldn’t have been so hard to remove if I hadn’t let them bake in the heat all summer.
Love the colors and designs.
These are a lot of fun! Love the colors.