There’s nothing so tiny as your baby in his big-boy bed for the first time. (Well, maybe your newborn in his crib for the first time.) It’s hard on a mama, but it must be done.
Last year, Noah was ready to graduate from the crib, as evidenced by his ability to escape from it. (The first time you’ve put baby down for bed and then he reappears in the living room it will scare the living daylights out of you. The next ten, twenty, or hundred times — and there will be hundreds of times — it will simply annoy or exasperate you.)
At that time, the love of Noah’s life was diggers. In a pinch, other large construction vehicles would suffice, but diggers were his true north. So I set about creating a little-big-boy digger bedroom.
I soon learned that the digger-themed stuff available was just not right. It was bright orange, yellow, red, and blue with silly, cartoon-ish designs, and cheap fabrics. I was not impressed with my options. I wanted a quilt. A down blanket. Nice colors. And I didn’t want to have to paint the walls or change the window treatments. I concluded I’d have to make what I needed myself.
I have a sewing machine but I don’t really sew. I can sew straight lines and make simple curtains or pillows, and I can tuck in a waistline and sew through a few layers of fabric and elastic so my skinny boys’ swim trunks don’t drop to the ground. I have discovered that sewing on paper is really fun (I’ll tell you about that sometime). But I don’t sew things that are complicated, follow a pattern, or have to hold up or function well. I have certainly never quilted.
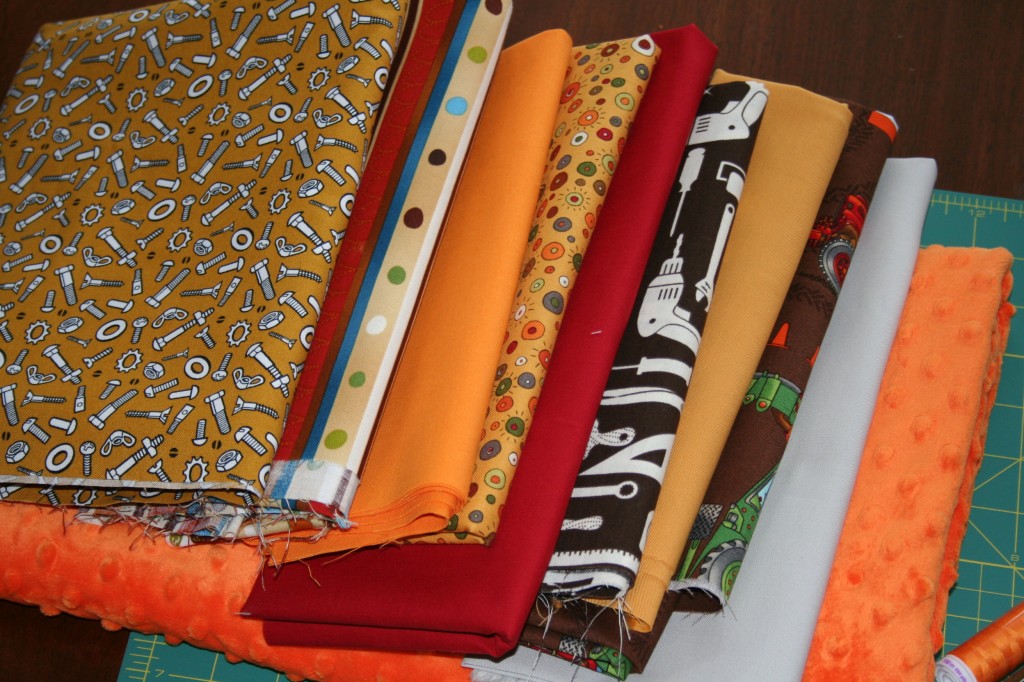
What I do excel at, though, is buying fabric. So that’s how I started: buying fabric in colors and patterns I liked and paying no heed to quantity or ultimate purpose. That was the fun part. Here are some of my adorable digger-themed fabrics.
Then after some online-tutorial searching (this was February 2011, before I found Pinterest), I started to think about how to sew an easy quilt for his bed. Not really quilting, but appliqueing a big digger, dump truck, and crane on a purchased solid color down comforter. I’d seen two tutorials that got my wheels spinning – one on making a quilt out of a plain purchased down blanket, and one on appliqueing using freezer paper. Why not combine them? I’d get the design I want in the colors I want. And it met my criteria of no pattern and it didn’t have to be perfect. I ordered some quilting supplies (rotary cutter, mat, and quilting ruler — all indispensible) and my older son and I drew some simple machines to work from.
Thank goodness it ended there. I spent a couple hours trying to figure out which fabrics to use for which pieces and how to scale up the drawings before I concluded that there was no way this was going to work.
Sitting, dejected, with my supplies, I took another look at the olive green down blanket I’d ordered and thought about that “cheater quilt” tutorial. Hmm . . . my blanket was quilted in squares. Across the whole thing. In perfectly even rows. I could just sew squares of my cute fabrics right on top . . .
This is even better! No pattern and just straight lines! My kind of sewing.
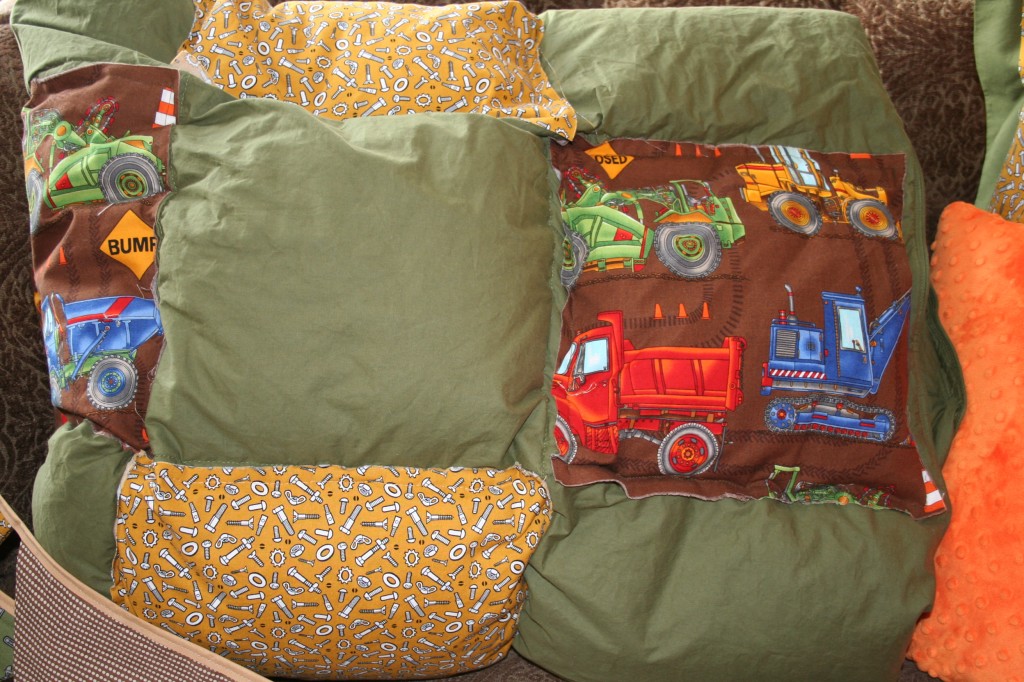
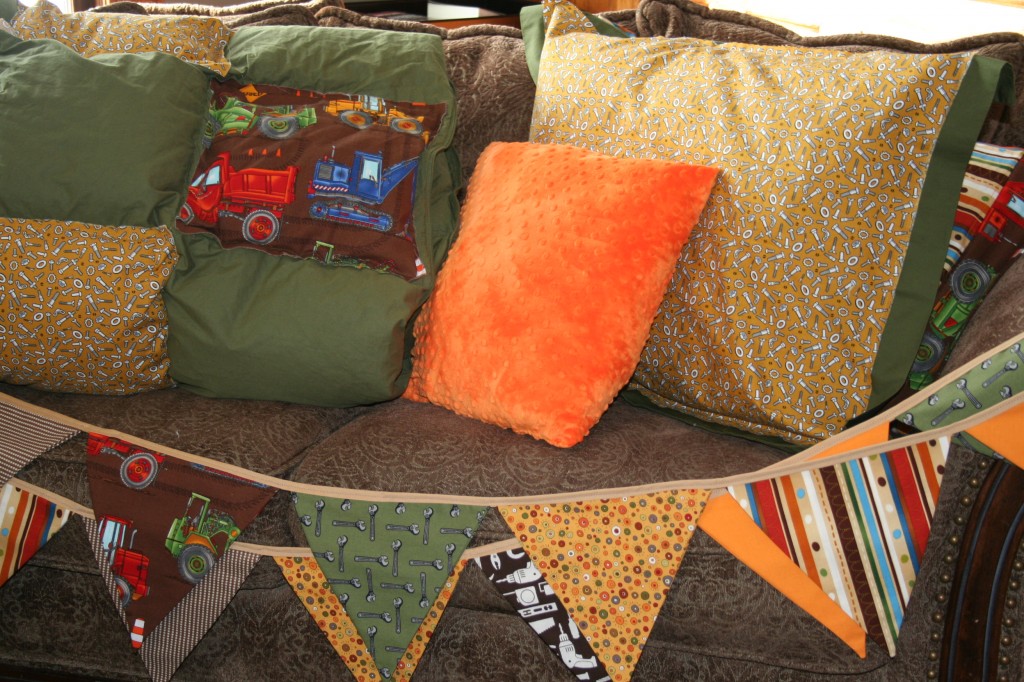
I started with the two prints I had the most of: cool realistic machines on brown, and nuts and bolts on a mustard yellow. I drafted my husband to cut perfect 19 by 19 squares (I am simply not physically or mentally able to do such a thing), and then we experimented with the pattern, a lot, before it dawned on me that it should just be simple and repeating and that I wanted to see, not cover up, the green blanket.
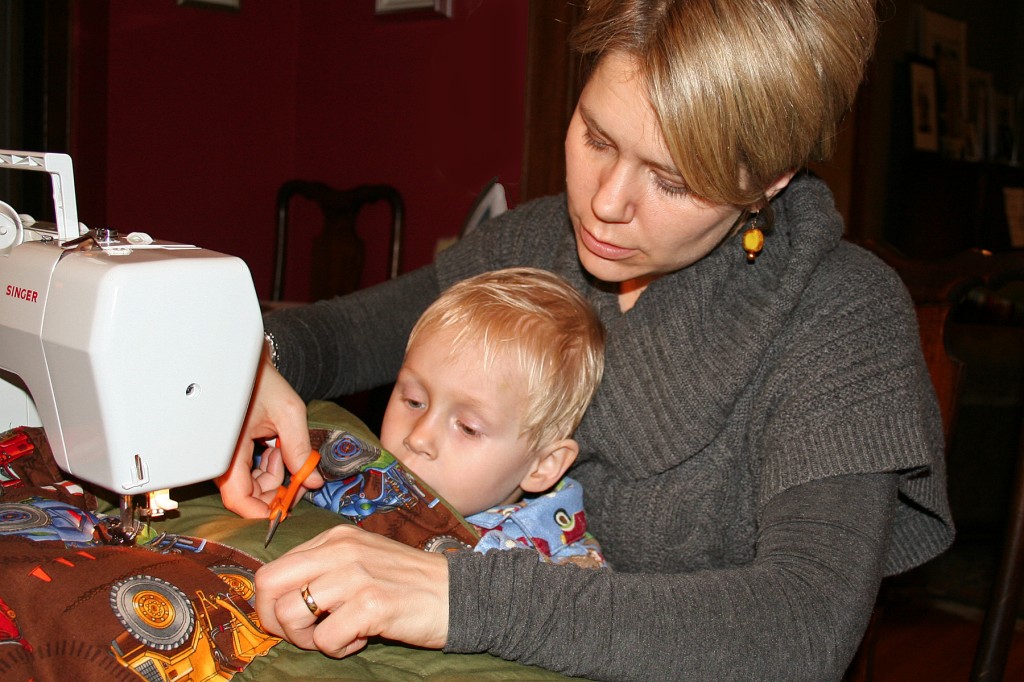
My online tutorial had assured me that my machine could handle jamming the down quilt under the foot and sewing right over the top, and it was easy — on the outside edges. Bunching up an entire twin blanket and jamming it in the little space between your foot and the arm of the machine so you can sew on the middle squares is another story. More than once I thanked my lucky stars that I wasn’t trying to sew the shapes the appliques would have required. It was slow going, a little frustrating, and far from perfect, but it did indeed work.
Of course I had some help.
I’d made a decision that I wanted the edges unfinished so it would ravel and fray and take on a “shabby chic” look. Smart move — the frayed ends cover a multitude of sins, thread jams, and crooked lines. My squares mostly line up, but the decision to leave some of the squares green meant it didn’t matter (again, serendipity). Sometimes the back of the comforter got caught and folded and sewn into place that way. I did pull out stitches and redo a few of the squares, but only if the catch/fold was so bad that you could see it from the top. The rest I left as is. Character.
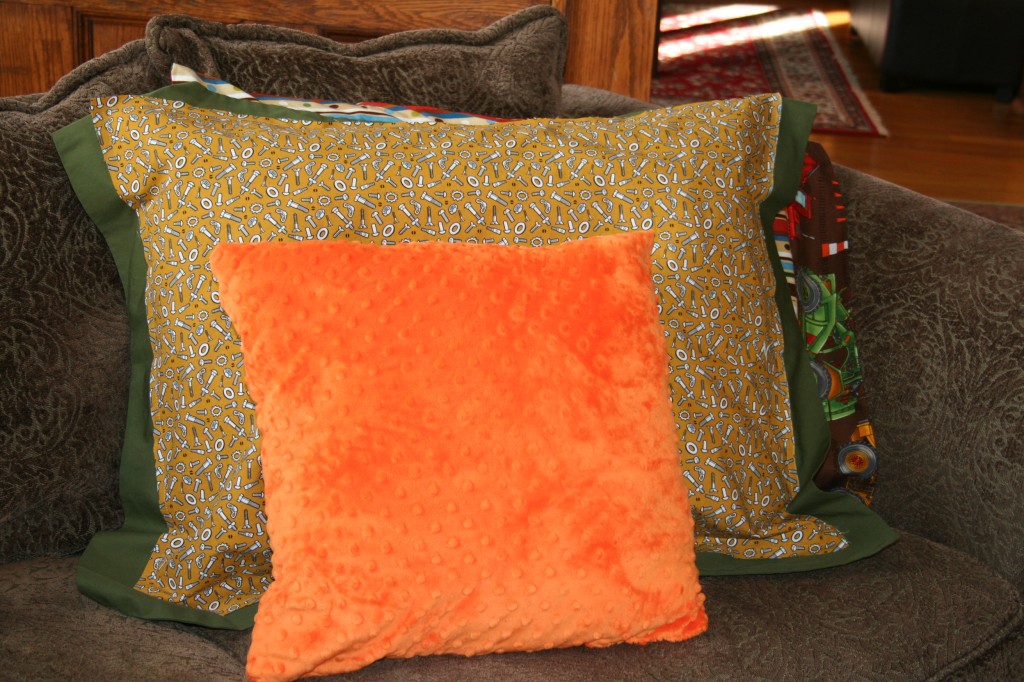
I had extra fabric so I made a pillowcase to match and then sewed a piece of the nuts-and-bolts fabric to the top of a ready-made matching pillow sham. After a few disastrous attempts at appliqueing traffic cones on a blankie and backing it with orange Minky fabric, (have you ever worked with that stuff? Impossible!) I just made a squarish orange throw pillow and called it good.
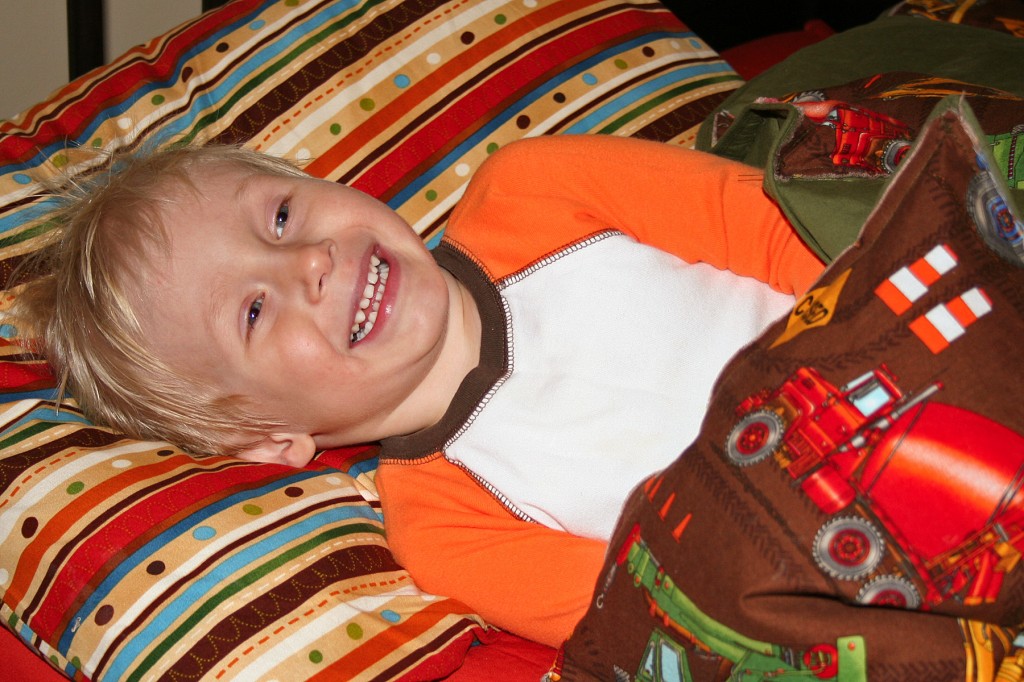
I think it’s safe to say my son likes it. And so do I.
So now I was done, but I was having too much fun to stop. What could I do with the rest of this great fabric? My dining room had already been sewing central for a month and was thoroughly trashed, why clean it up now?
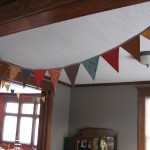 Then I remembered this pennant garland, made for Breanne’s baby shower by our friend Allie.
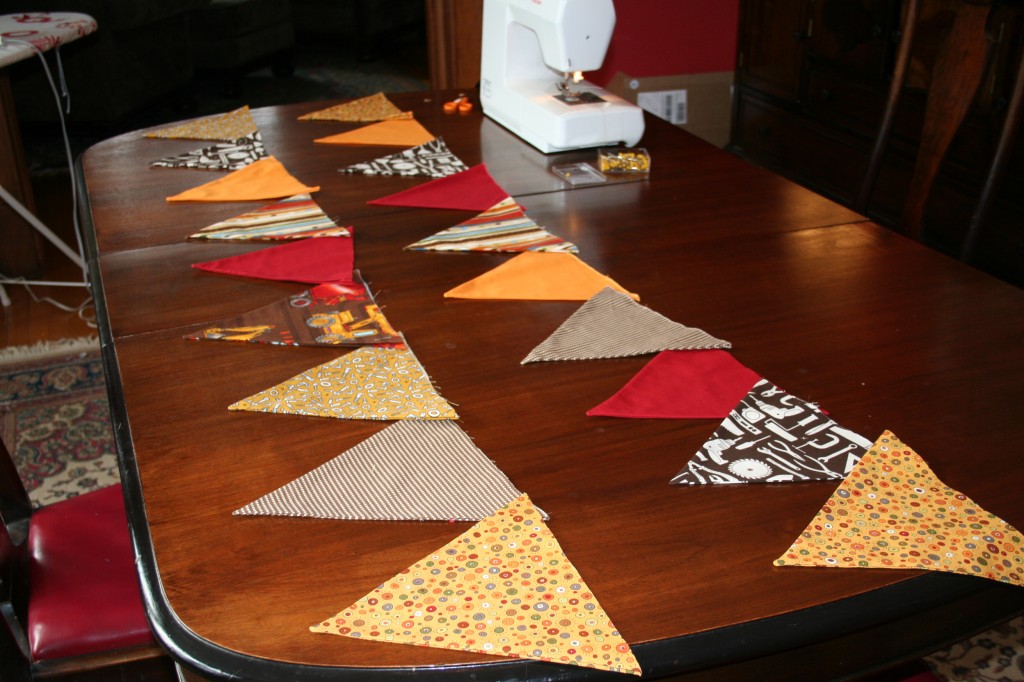
I know I said I wasn’t going to change the window treatments, but wouldn’t that be cool on the windows? Yes, it would! I dragged my husband back into the project, this time to cut perfect 16-inch triangles. Lots of them.
Compared to cheater quilting, triangle pennant garlands are easy peasy. I had so much fun with them I made another set for my friend Heidi’s baby shower right after I finished these and would have kept going if I thought I could pull them off in my kitchen.
Here’s how you do it:
- Get husband to cut triangles.
- Pin wrong sides together (or don’t pin, I hardly ever do).
- Sew down one side, lift your foot (with needle down in the fabric), turn, and sew back up the other side.
- Turn right side out and iron.
- Make all the rest of your triangles, turn them right side out and iron.
- Buy double fold bias tape in a color that you like. I suggest a wider tape, it’s just easier to work with. If it is not long enough for your purpose, sew the ends of two pieces together before you start.
- Unfold the bias tape and place your triangles inside. Fold the top back over.
- Now pin in place. You have to pin this time. Make sure to leave some empty tape at the ends for hanging up or tying.
- You’ll sew on top of the right side of the tape with your right-side-out triangles in between. This means you will see your stitches, so use a thread color that matches your tape unless you 1) want a contrast look and 2) can sew in a straight line. I can’t, so I match my thread. Start at the first triangle and sew straight(ish) all the way to other the end.
- Squeal with delight and make your husband come see. If he fails to appreciate it, post a photo on Facebook to get the raves you deserve.
Here, the triangles are done, I’m just rearranging them until I like the pattern (or lack thereof).
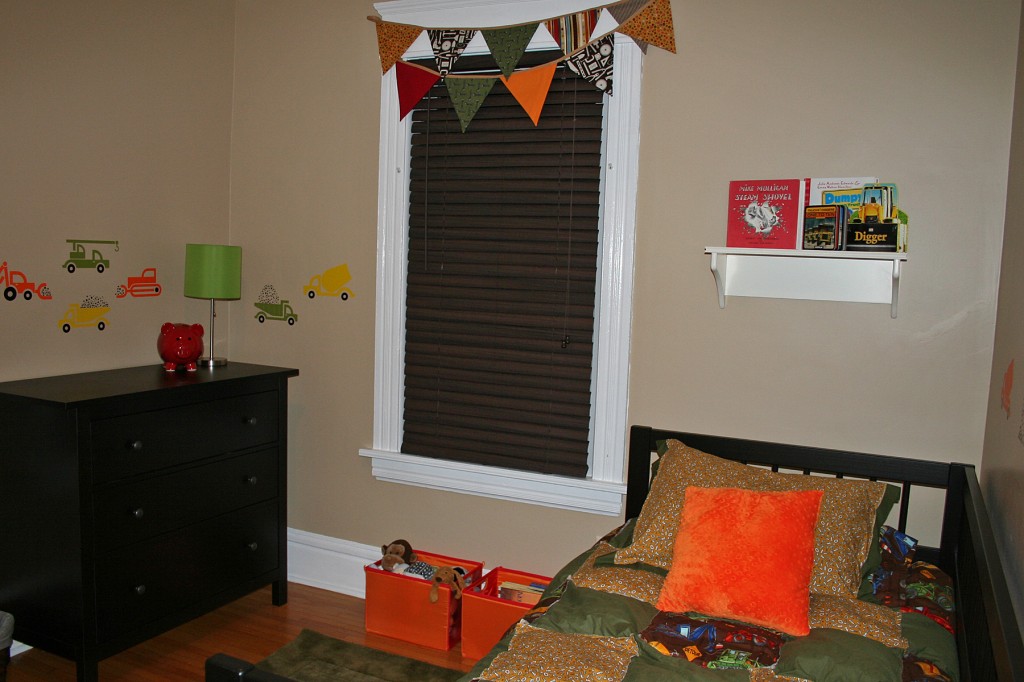
And here’s the finished big-boy digger bedroom set, sorta-handmade by Mama.
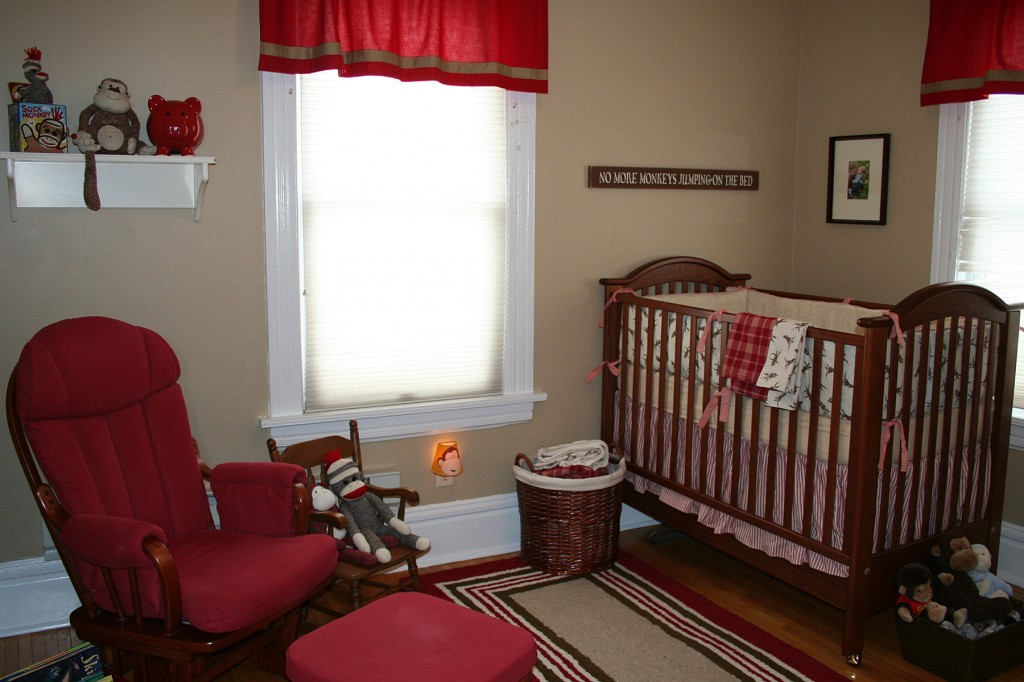
I had so much fun making this, and was so happy with the results, I almost wasn’t sad when we disassembled his nursery and brought home the big boy bed. Almost.
Here it is, before and after:
(Furniture and bins by Ikea; rug, quilt, and sham from the Company Store; decals from Gray Wolf Graphics, fabrics from Treadle Yard Goods, Whipstitch, and Fabric.com; blinds from Target, piggy bank from Grandma, and lamp chosen by the big boy himself, also from Target.)



Hello! I am working on a book development project. I am writing a children’s book about the transition from crib to “big kid bed.” I am looking for photographs to use in my book, and I really like the photos you have posted to your blog of your son in his new bed! I am writing to ask if you would be willing to give me rights to use the photograph/s in my book. I will need permission to use it for commercial use. Please let me know if you have questions about the content of the book. Thank you!
Karen Langdon